Directional grain creates a deliberate visual language across panels, housings, controls, trim, and exposed structural components.
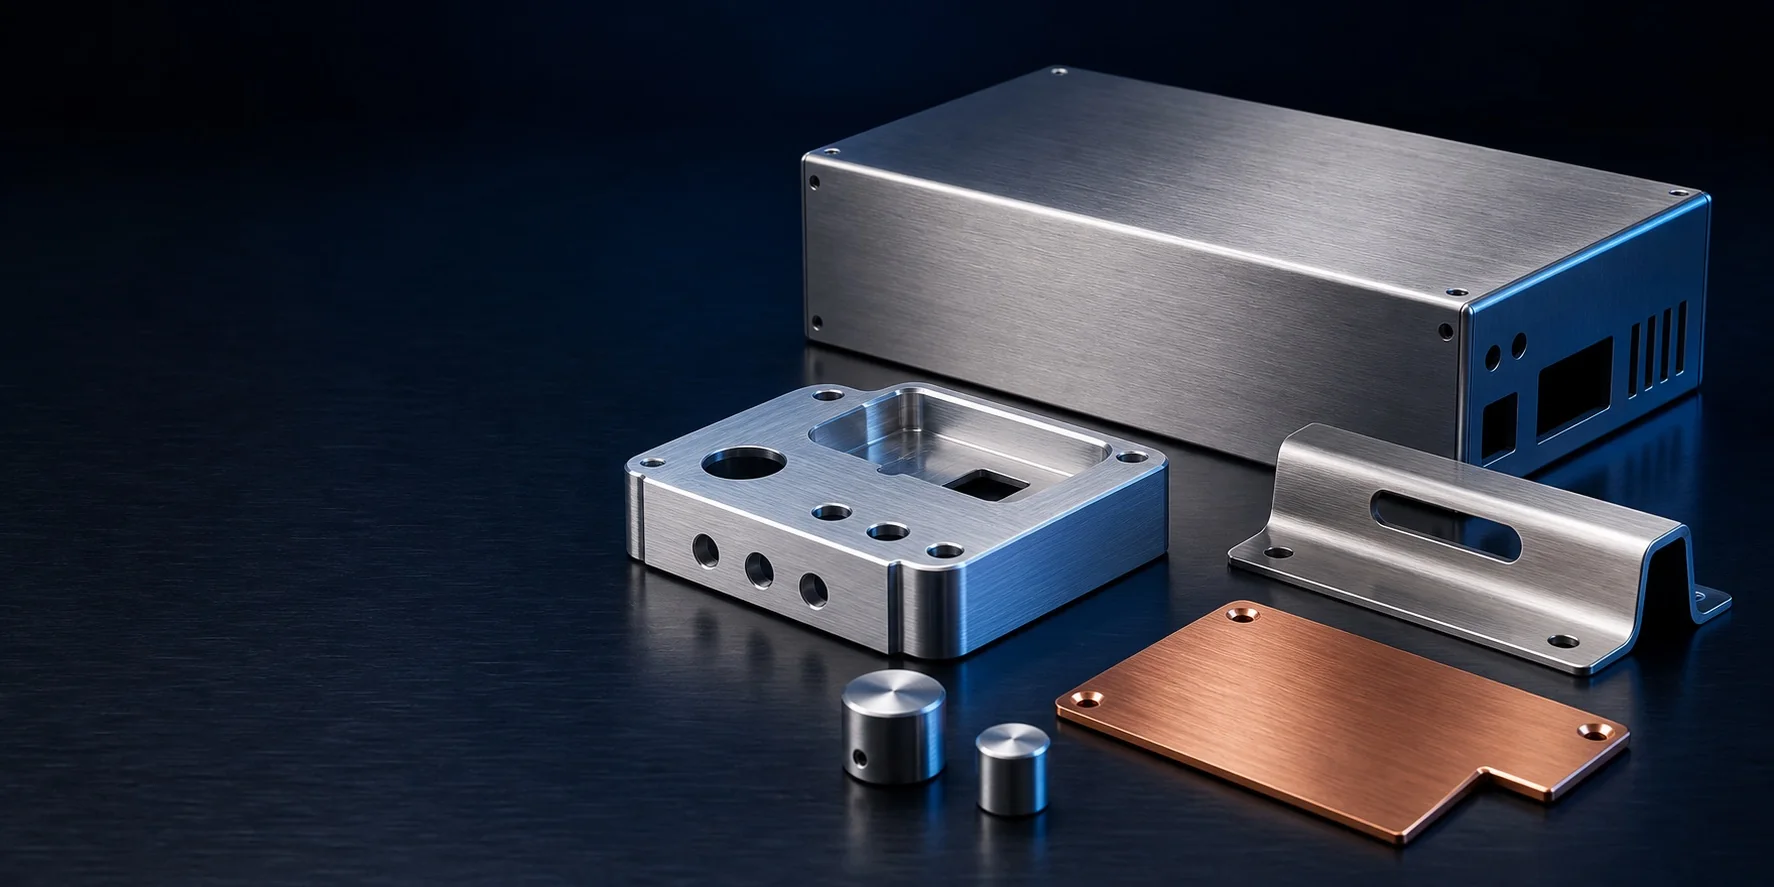
Directional grain engineered for consistent appearance
Metal Brushing
Controlled abrasive finishing for straight-line grain, hairline texture, satin appearance, and repeatable cosmetic surfaces on precision metal components.
Project guide
How do you specify a consistent brushed appearance?
A brushed finish is defined by direction, texture and the surfaces visible in use. A reference sample can clarify an appearance requirement that a process name alone leaves open.
How brushing works
Abrasives Cut a Deliberate, Repeatable Direction into the Metal
Brushing uses coated-abrasive belts, wheels, drums, or non-woven media to remove a small amount of surface material and create a directional scratch pattern. It can blend light machining marks, reduce glare, and give parts a consistent metallic appearance.
The finish is defined by more than abrasive grade. Starting surface, abrasive mineral and construction, contact wheel or platen, pressure, speed, feed, pass overlap, lubrication, grain direction, and media wear all influence texture and reflectivity.
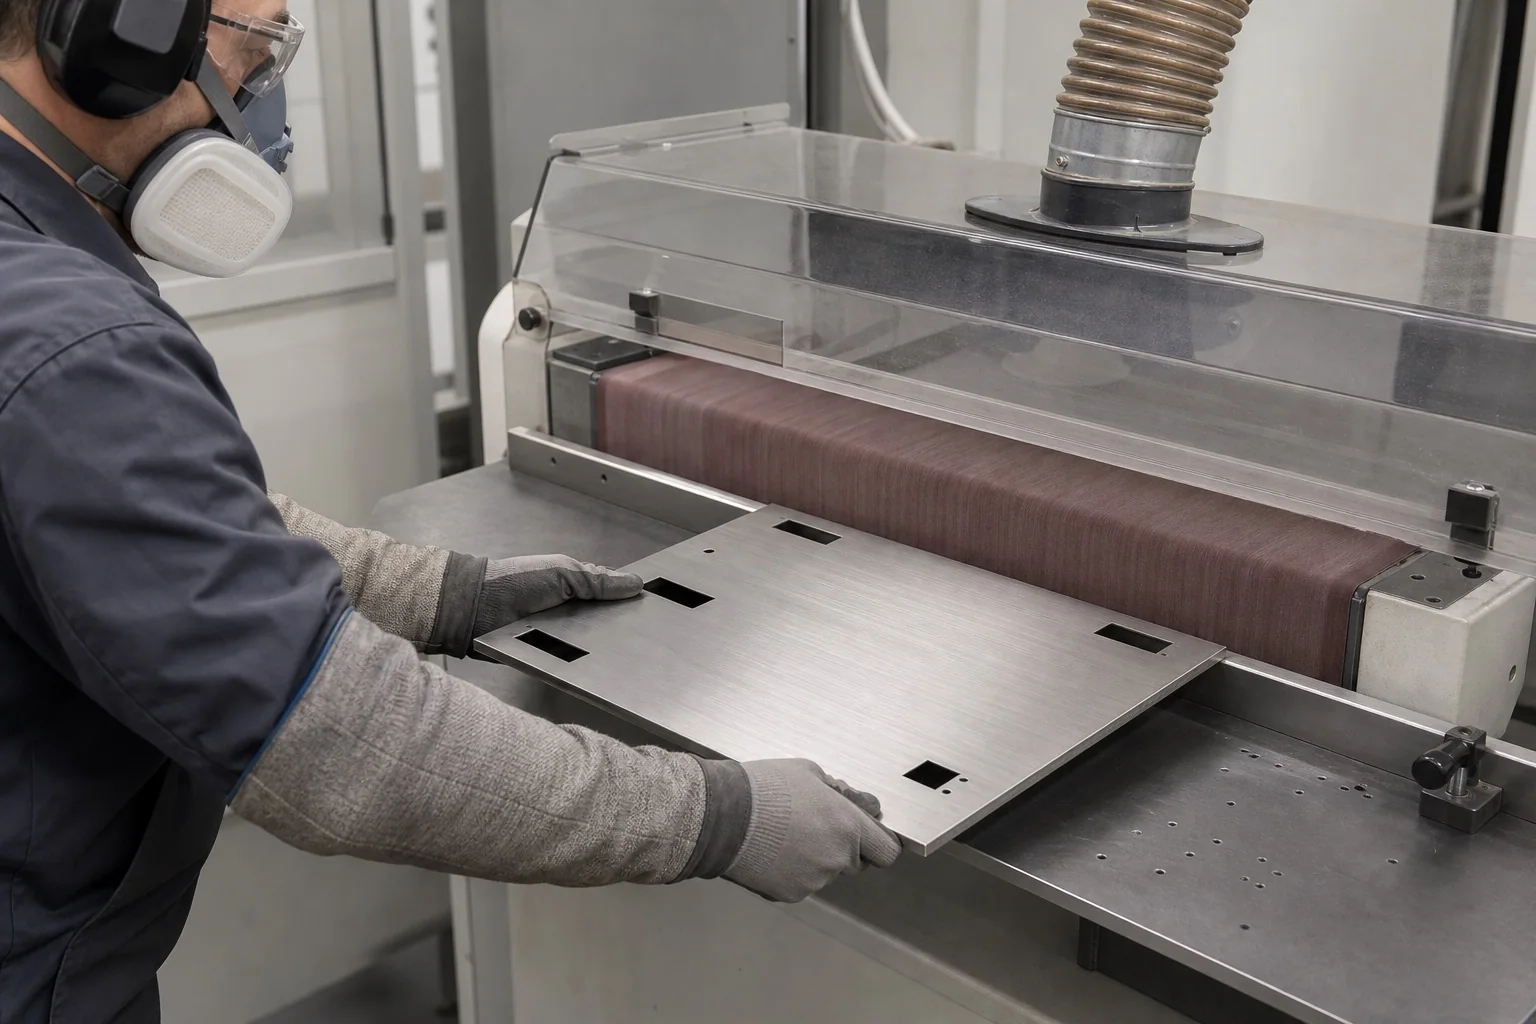
A qualified abrasive sequence can blend light tool marks, mill variation, and minor cosmetic inconsistencies without mirror polishing.
Fine linear or satin textures diffuse reflections while retaining a recognizable natural-metal character.
Brushing can establish the texture beneath anodizing, passivation, clear protection, or another validated finish stack.
Finish selection
Specify the Pattern—not Just “Brushed”
Abrasive numbers from different media families are not directly interchangeable. Use a drawing, process description, grain arrow, roughness range when functional, and an approved physical sample for cosmetic agreement.
Straight-Line Grain
Parallel belt lines create a clear directional appearance on flat sheet, plates, extrusions, and accessible faces. Orientation across mating parts must be defined.
Fine Hairline
A finer, closely spaced linear pattern gives a refined metallic surface. It demands a consistent precursor finish and tighter control of handling and rework.
Non-Woven Satin
Conformable abrasive media creates a softer, lower-contrast texture and can blend contours with less risk of a harsh belt line, subject to geometry.
Radial or Custom Grain
Rotary, orbital, or decorative patterns are possible on selected shapes, but the exact datum, center, coverage, and repeatability criteria must be agreed.
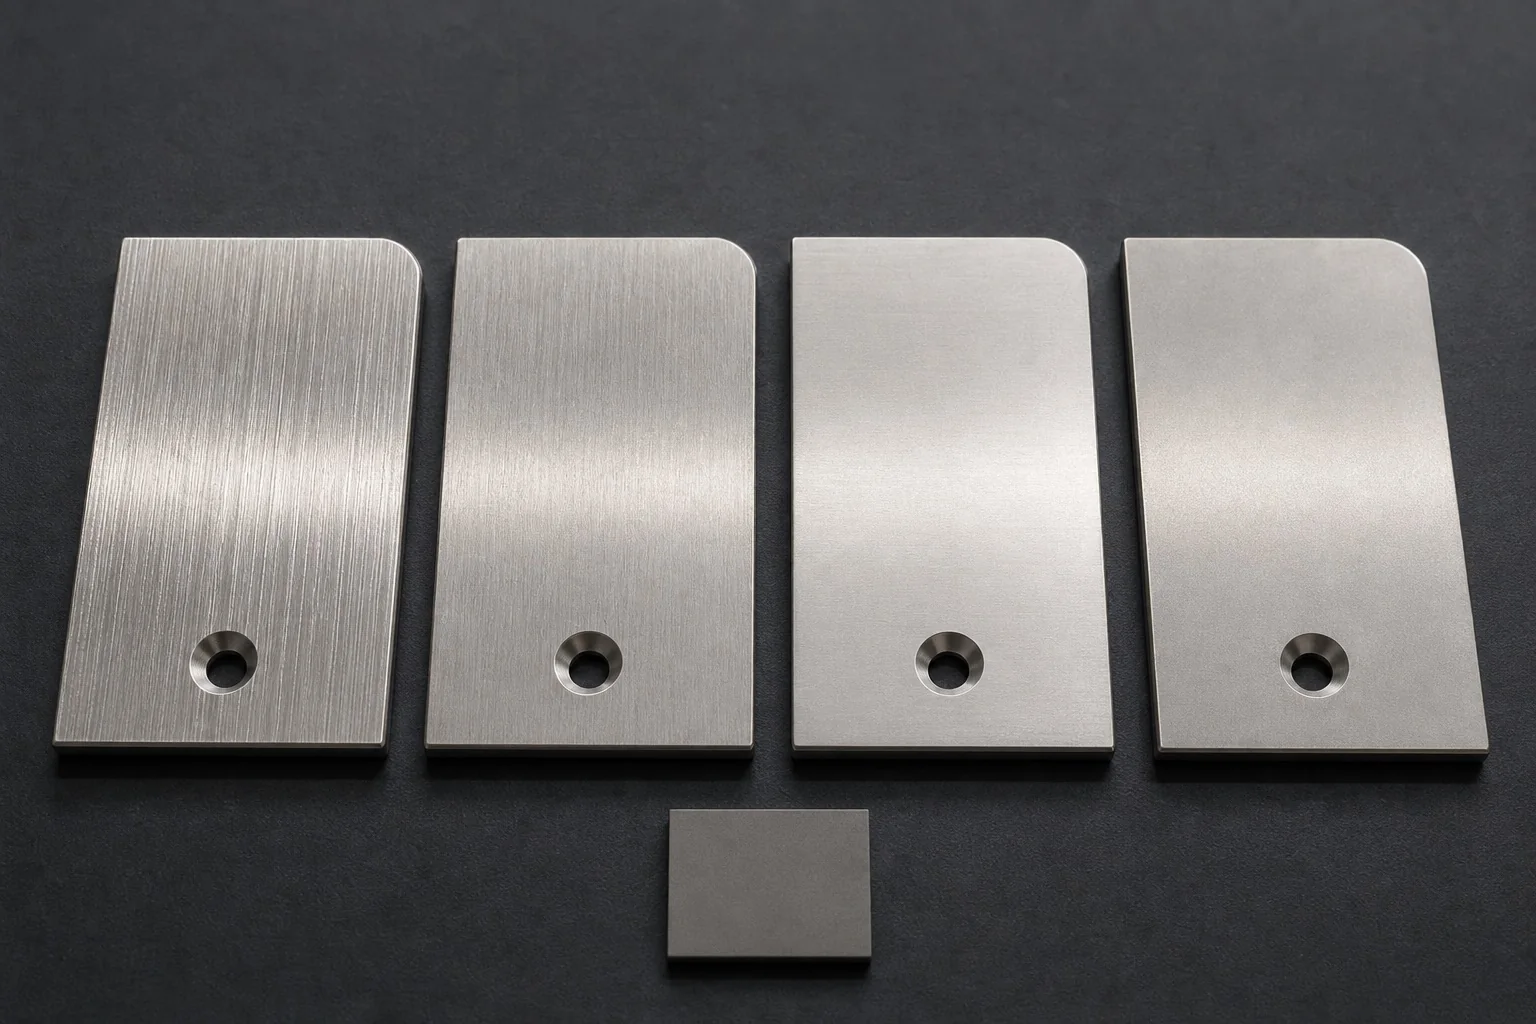
Texture and reflectivity
Grit, Roughness, and Appearance Describe Different Things
Abrasive grade identifies a product category; surface roughness describes a measured profile; visual appearance also depends on scratch shape, density, direction, waviness, gloss, lighting, and the starting metal. One value cannot fully define all three.
- Approve limit samples under agreed lighting and viewing distance.
- Define grain arrows on every exposed face and across assembled parts.
- Set acceptable limits for cross-scratches, stops, overlaps, edge rollover, and witness marks.
- Keep protective film and packaging aligned with the cosmetic standard.
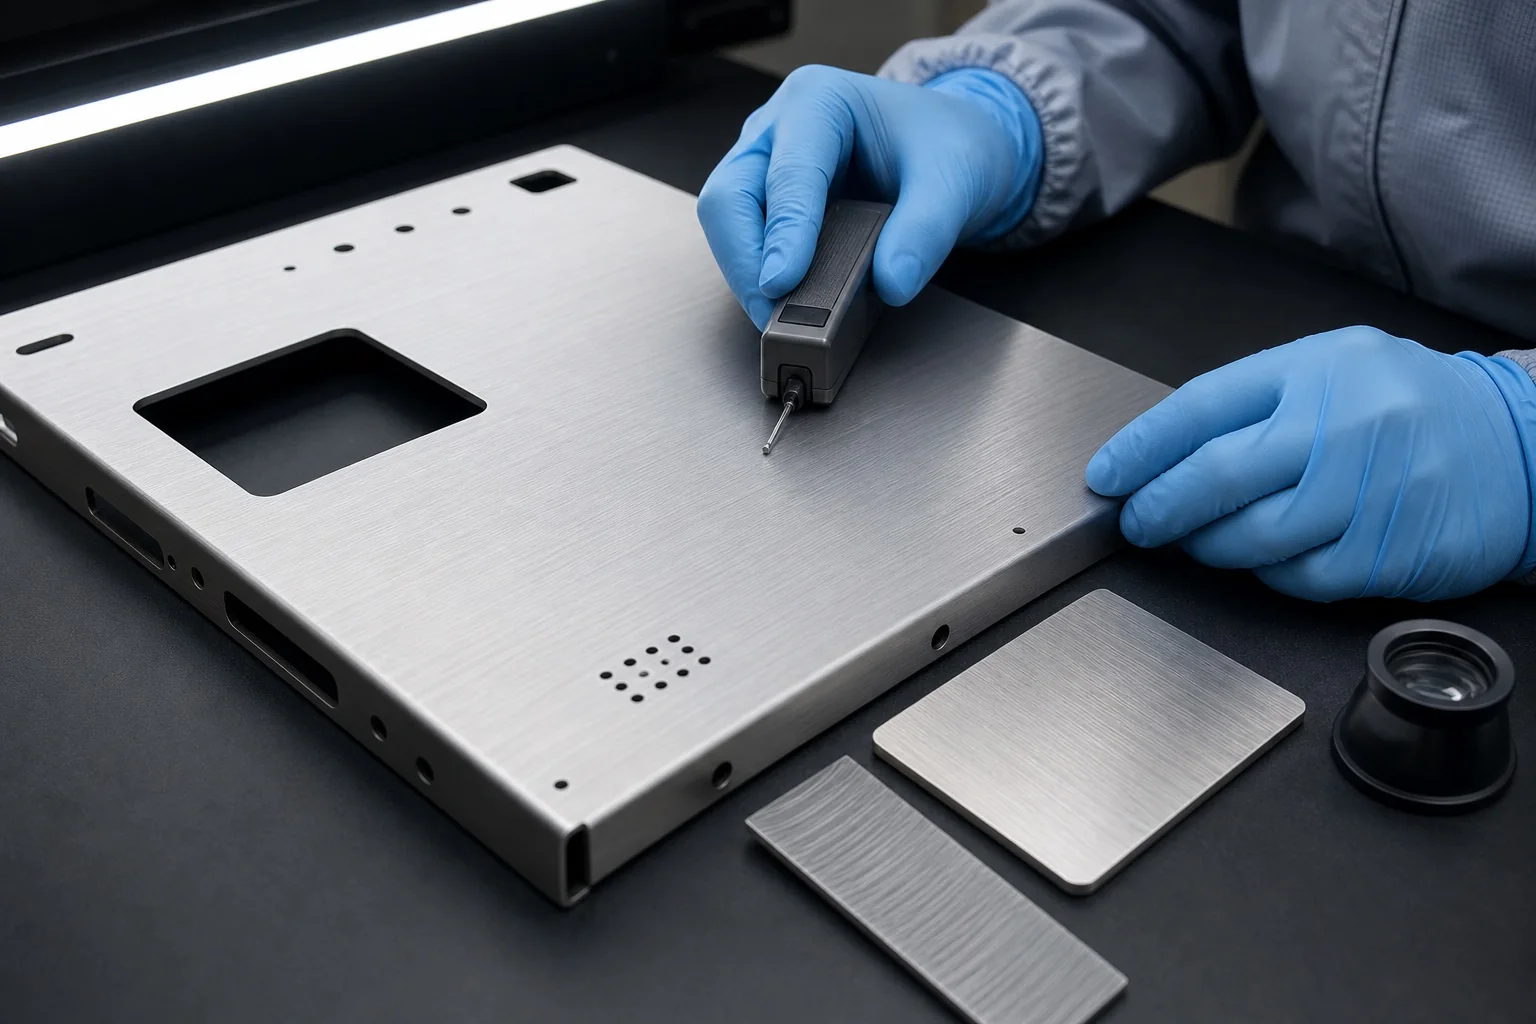
Consistent inspection conditions
Measure the Profile and Judge the Whole Cosmetic Surface
Inspection may combine directional lighting, approved samples, gloss or color measurement, and stylus roughness testing. Roughness traces should state the measurement direction because values measured across the grain differ from those measured along it.
Cosmetic zones, critical viewing angle, inspection distance, light type, sampling frequency, handling, and permitted repair method should be agreed before production.
Process comparison
Brushing or Another Mechanical Finish?
Select by desired texture, directionality, reflectivity, material removal, geometry, and the next manufacturing step.
| Finish | Surface character | Key implication |
|---|---|---|
| Brushing | Deliberate unidirectional or specified abrasive grain. | Grain direction and start/stop control are central to appearance. |
| Polishing | Progressively refined surface from satin to bright or mirror. | More steps and stock removal; aims to reduce visible abrasive lines. |
| Abrasive Blasting | Generally uniform non-directional matte texture from propelled media. | Media, pressure, distance, and contamination control affect roughness and coverage. |
| As-Machined | Toolpath and cutting marks remain visible. | No separate cosmetic blending step; appearance follows machining strategy and tool condition. |
Before production
Six Details to Put on the Drawing
Alloy & Starting Surface
State the exact metal, temper, sheet or machined condition, weld state, existing coatings, and defects that must be removed or retained.
Cosmetic Zones
Identify primary, secondary, and hidden surfaces together with allowed variation, repair zones, and protected functional features.
Grain Direction
Add arrows and datums for every visible face; coordinate direction across bends, seams, adjacent panels, and final assembly orientation.
Finish Definition
Name the abrasive/media family and sequence, target roughness or gloss if relevant, and the approved reference or limit samples.
Edge & Dimension Limits
Protect sharp geometry, thin walls, threads, sealing faces, markings, and tight fits from excessive stock removal or edge rounding.
Finish Stack & Packing
Define whether brushing occurs before forming, anodizing, passivation, clear coating, marking, assembly, protective film, and final packaging.
Controlled brushing workflow
From Surface Review to Protected Cosmetic Finish
- 01
Review & Sample
Confirm alloy, cosmetic zones, grain direction, finish stack, dimensions, inspection criteria, and an approved sample before production.
- 02
Prepare & Fixture
Remove contamination and deep defects with the agreed precursor sequence; support the part and protect functional features.
- 03
Brush & Clean
Control abrasive, speed, pressure, feed, pass overlap, direction, temperature, extraction, and media life; then remove residue without cross-contamination.
- 04
Inspect & Protect
Check grain, appearance, roughness where specified, dimensions, cleanliness, and secondary finish readiness before protective handling and packing.
Project questions
Metal Brushing FAQ
Does brushing improve corrosion resistance?
Not by itself. Brushing removes material and changes texture; it does not add a protective layer. Stainless steel may require thorough cleaning and a specified passivation route, while aluminum may be anodized or otherwise protected after brushing.
Is “No. 4 brushed” a complete cosmetic specification?
No. It is a useful finish designation, but appearance can vary with the starting surface, abrasive sequence, equipment, pressure, direction, and supplier. Add grain orientation, measurable limits where useful, and an approved sample.
Can brushing remove scratches and machining marks?
It can blend shallow marks when enough material may be removed. Deep scratches, dents, weld mismatch, and chatter may remain or require a coarser precursor step that changes dimensions and appearance.
Which metals can be brushed?
Stainless steel and aluminum are common, and copper, brass, titanium, zinc, magnesium, and other alloys may be brushed with material-specific media and controls. Abrasives and tools for stainless should be segregated from carbon steel to reduce contamination risk.
Ready to define the grain?
Send the Alloy, Drawing, and Cosmetic Requirement
We will review the starting surface, grain direction, abrasive route, cosmetic zones, dimension limits, inspection sample, secondary finish, and production quantity.
Start Your Project