Assess scale, shape, finish direction, visual balance, and ergonomics.
Rapid prototyping
Rapid Prototyping for Fit, Function & Production Decisions
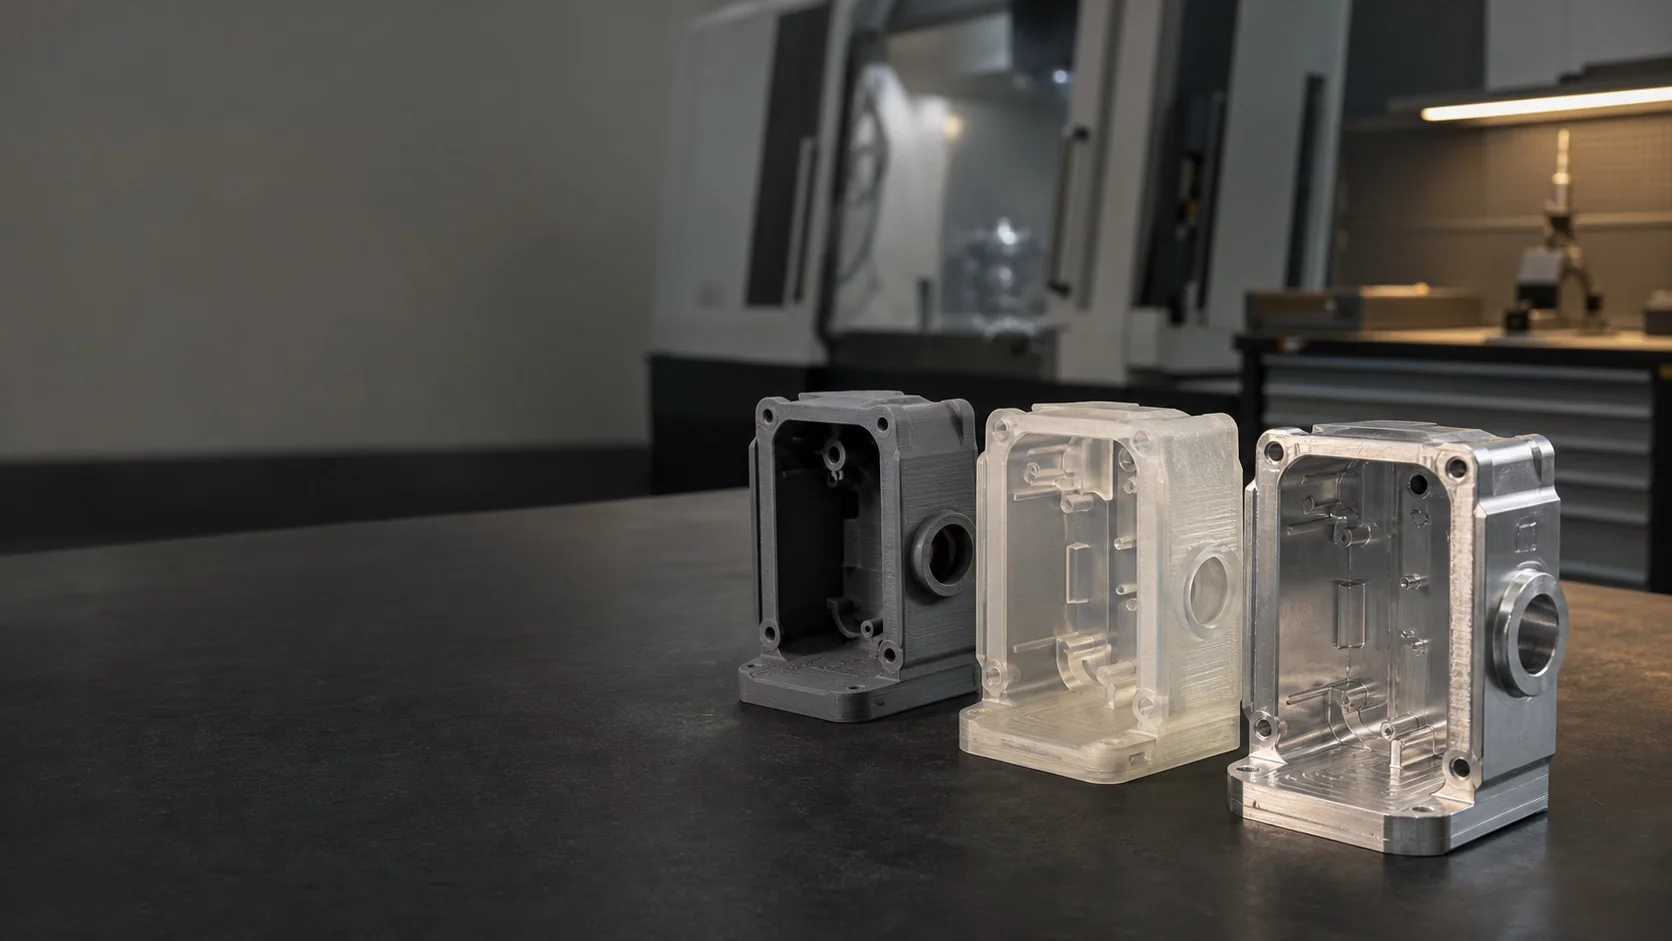
Purpose-built prototypes for reviewing appearance, ergonomics, fit, assembly, function, material behavior, finish, and manufacturing risk before production release.
Project guide
Which prototype properties must represent the production part?
Represent the properties that affect the planned test, such as mating geometry for fit or material behavior for function. Identify deviations and untested production requirements explicitly.
From prototype to next batch
Turn prototype feedback into a clear next step
Make the next order follow the findings from the prototype review.
Keep the evaluation focused
Define whether the prototype is for fit, assembly, appearance or functional testing. Record the results against the part revision and identify changes before another batch is quoted.
Plan the next decision
Share the feedback, revised files and next-batch quantity. Confirm which material, process, finish and inspection requirements need to change before moving from a prototype to production.
Decision guide
Match prototype fidelity to the decision you need to make
Choose the properties that affect the planned test before selecting a process. A model can answer a shape question while leaving strength, sealing or wear unresolved. Record these limits so one successful test is not treated as proof of every production requirement.
Scroll horizontally to compare all columns.
| Validation question | Properties to represent | What the result does not establish |
|---|---|---|
| Does it fit? | Mating geometry, relevant dimensions, interfaces and assembly access | Material strength, coating durability or performance under operating loads |
| Does it function? | Material behavior, load path, contact surfaces and test conditions relevant to the function | Untested conditions, service life or repeat-batch capability |
| Does it look and feel right? | Visible geometry, texture, color reference and handling surfaces | The appearance of a different production material or finishing route |
| Is the production route ready? | Intended material and process, critical dimensions and agreed inspection scope | Production approval until deviations, acceptance criteria and release responsibilities are resolved |
Record the decision from each build
- State the test conditions, acceptance criteria and decision owner. Record the outcome, deviations, open risks and the revision needed next.
- Defer cosmetic work, documentation or tight limits that do not affect the current validation question; retain those that do.
For example, a printed housing may answer an envelope question, while a fit or functional test may need a different process. State which differences from the intended production part are acceptable for this build; confirm route feasibility against the actual design.
Guide updated . Confirm the manufacturing and inspection scope for your actual order.
Check interfaces, clearances, access, alignment, and assembly sequence.
Choose representative materials and processes for the behavior under test.
Identify avoidable process, tolerance, inspection, and finishing risk early.
A prototype is a learning tool
Build the Right Evidence for the Next Decision
Rapid prototyping is not one material or one manufacturing process. The useful route is the one that answers the current design question with enough fidelity—without adding cost, finish, or precision that does not improve the decision.
Early models may focus on form and usability. Later prototypes can move toward final materials, production processes, tolerances, surface requirements, assembly conditions, and inspection methods. A successful prototype reduces uncertainty; it is not automatically a production-qualified part.
Prototype strategies
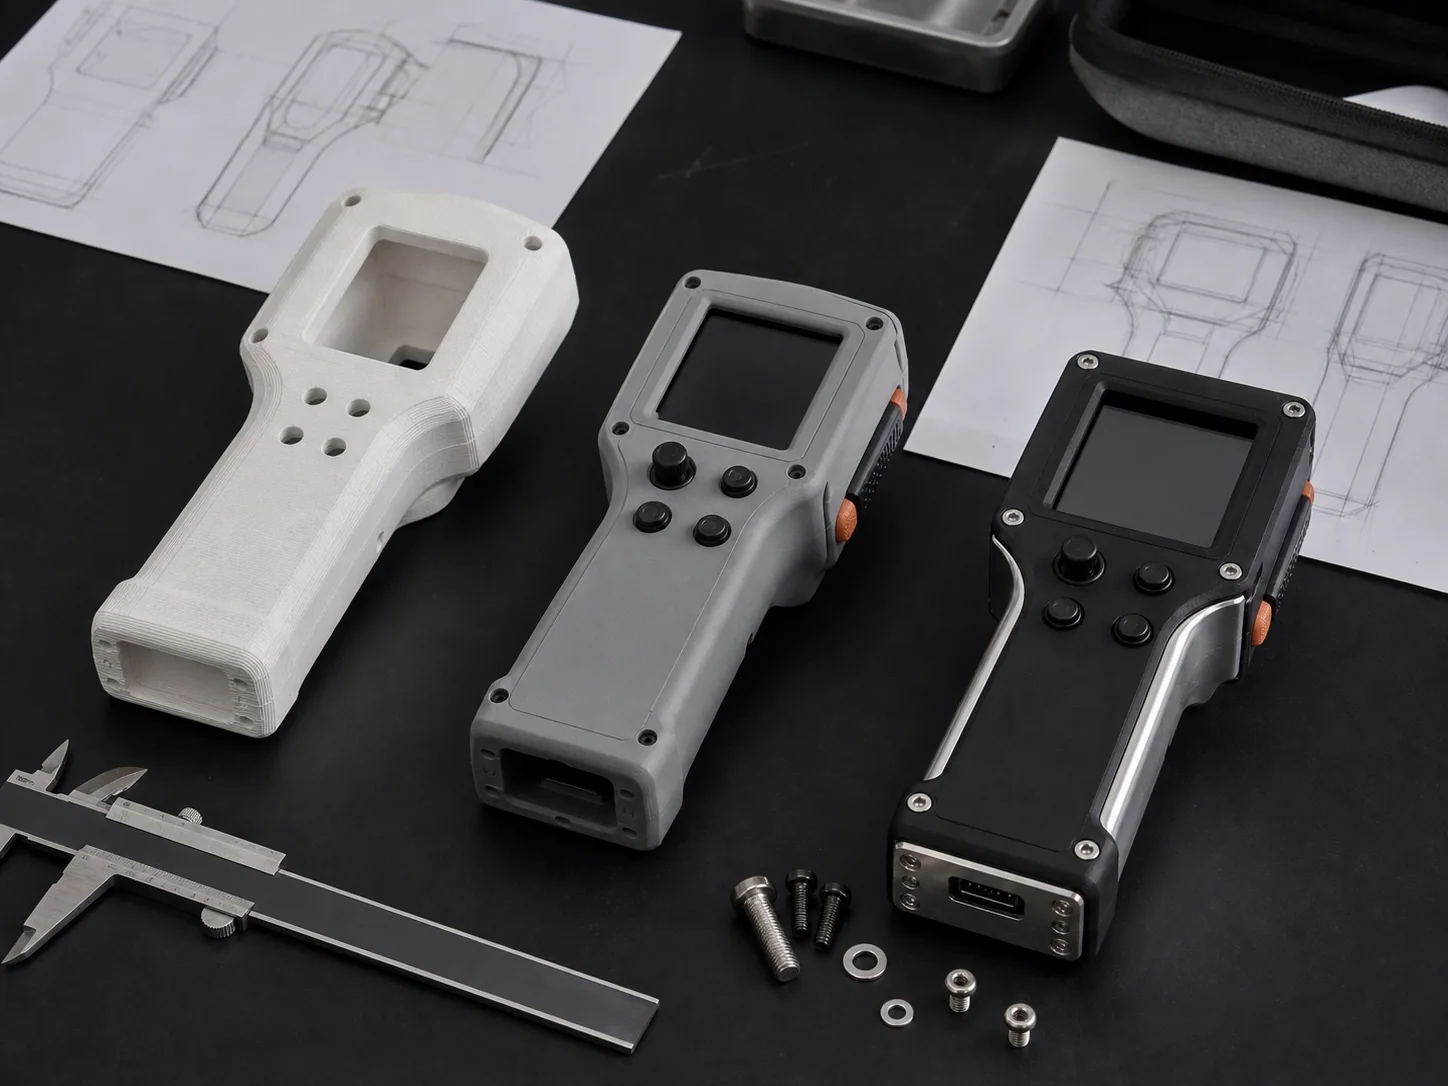
Match Fidelity to What You Need to Learn
One prototype rarely needs to prove every attribute. Define the decision first, then select the material, process, finish, inspection, and assembly scope.
01 / LOOKS-LIKE
Visual & Ergonomic Models
Review proportion, surface transitions, handling, access, appearance direction, user interaction, and presentation without overbuilding internal function.
02 / WORKS-LIKE
Functional Engineering Prototypes
Test motion, load path, thermal behavior, sealing, fastening, electrical packaging, interfaces, and assembly with representative attributes.
03 / PRODUCTION-INTENT
Integrated Validation Builds
Bring appearance and function together using materials and processes closer to production for DFM, lab, assembly, and pilot-stage learning.
Prototype route
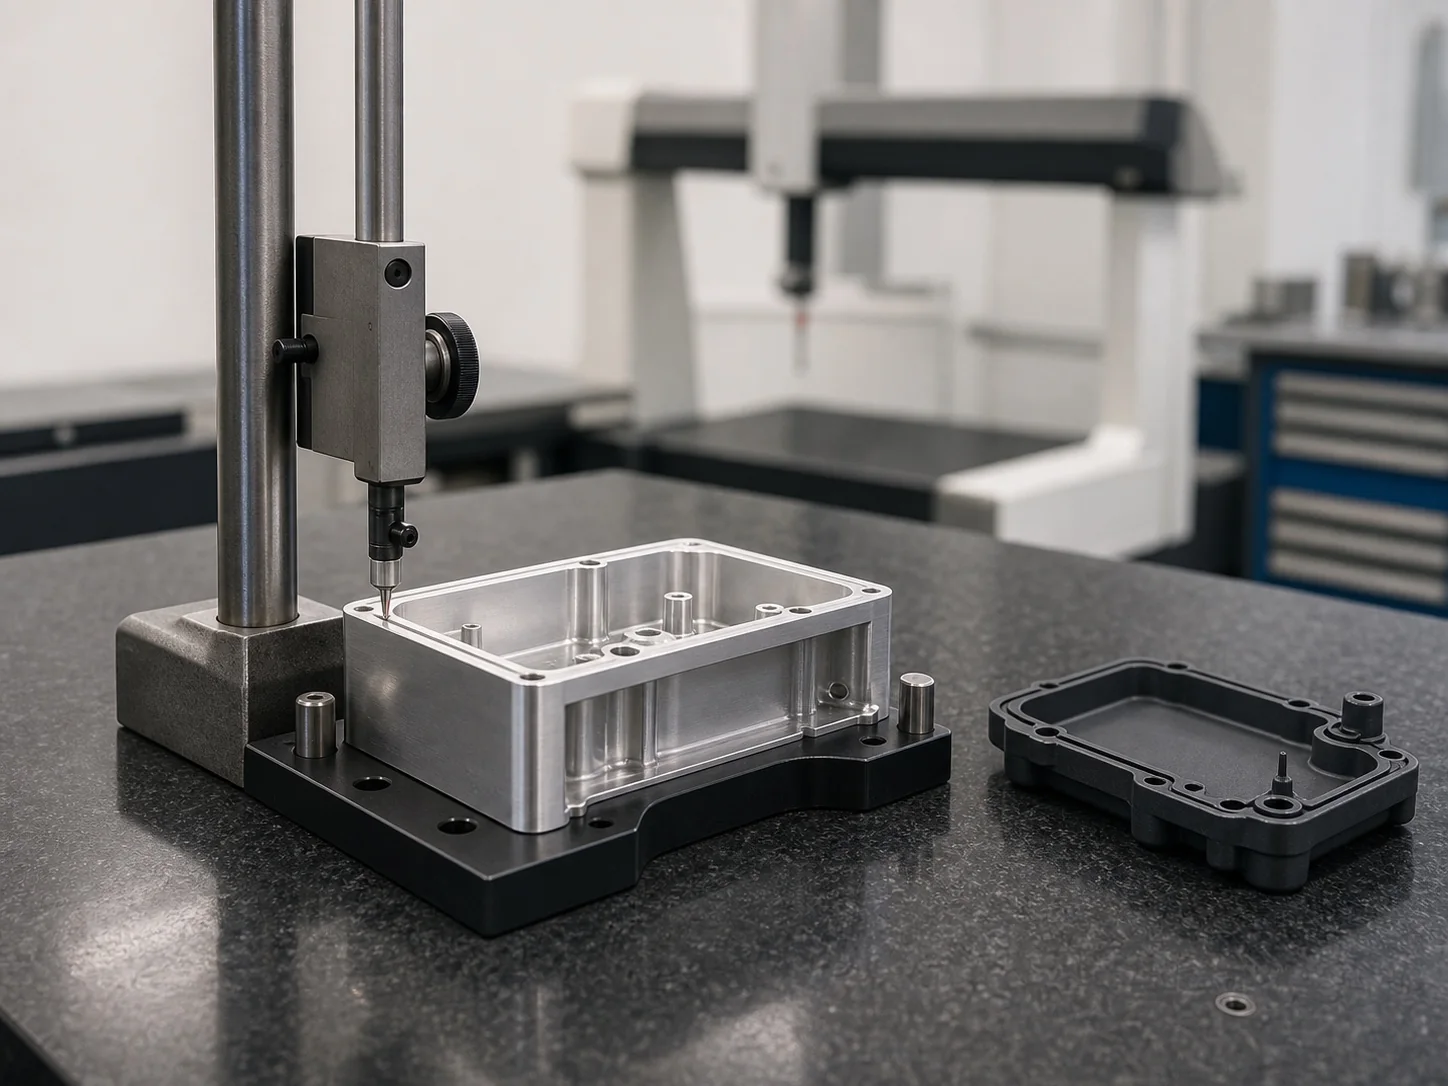
Select by Evidence, Not by Habit
The best route may change between iterations. Geometry, quantity, material behavior, finish, dimensional fidelity, test conditions, and the intended transition to production should guide the choice.
Build Processes
- CNC milling and turning
- Sheet metal cutting and forming
- Project-specific additive manufacturing
- EDM for selected difficult features
- Assembly and integration
Validation Support
- Deburring and surface finishing
- Fit and assembly review
- Critical dimensional inspection
- Visual and finish evaluation
- DFM feedback for the next revision
Learning workflow
From Validation Question to Better Revision
- 01
Define
Confirm the design revision, validation objective, interfaces, test conditions, acceptance criteria, and timing.
- 02
Select
Choose the process, material, finish, assembly scope, dimensional fidelity, and inspection plan needed for that objective.
- 03
Build & Check
Manufacture the prototype, verify agreed critical characteristics, assemble when required, and document known deviations.
- 04
Learn & Revise
Run the planned review or test, capture findings, update the design, and decide what the next build must prove.

Quality for the question
Inspect What the Prototype Must Validate
Prototype inspection should support the learning objective. A fit-check model may need only selected interfaces; a production-intent build may require critical dimensions, material or finish confirmation, assembly results, and documented deviations.
- Revision and validation-scope review
- Critical interface and datum checks
- Fit, assembly, and visual observations
- Recorded deviations and iteration findings
Start with the validation objective
Plan the Prototype Around Your Next Decision
Share the 3D model and drawings, current revision, what the prototype must prove, mating components, preferred material or finish, test conditions, critical features, quantity, and target timing.
Discuss Your Prototype